The indoor bike was the single best form of exercise for me to increase knee flexion. From around 8 weeks post op, I rode the bike every single day. Here’s how I progressed the exercise to improve flexion and strength / tolerance in the tissues in the knee. When I started this program I could only just get enough bend to get the pedals to go round.
I borrowed a spin bike from work in the first instance.
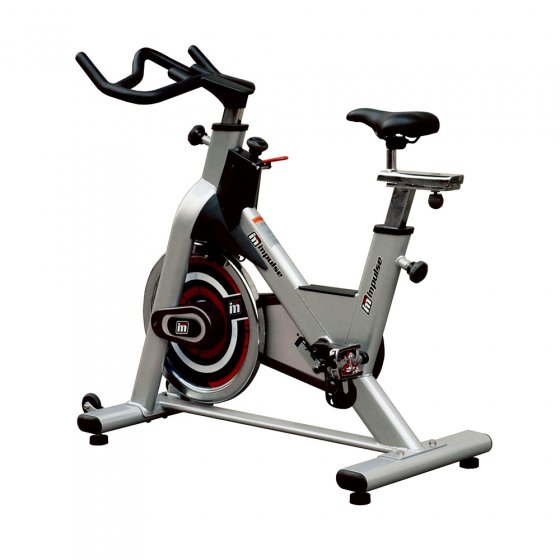
This is the type of spin bike I used. Spin bikes differ from normal stationary bikes: their flywheel spins faster and their seat posts are more upright, meaning more flexion is needed.
Stage 1
- Seat height as high as possible so you can get the pedals to rotate. ZERO resistance. Pedal until it STOPS hurting. The first time I tried this it took over 45 mins.
- repeat this until you get on and it stops hurting within a few mins.
Stage 2
- Gradually start lowering the seat. you might need to do a warm up at a higher seat height first before trying this. lower 1 notch at a time. max 3 notches in 1 sitting
- Add speed intervals. Still little or no resistance. I.E pedal faster like you’re sprinting. You will need to build this up in speed and in time – start with short intervals and longer rests
Stage 3
- Gradually start adding resistance. This needs to be VERY gradual and there should be NO direct pain through the knee joint. If there is, dial it back a little. NO STANDING UP.
- Add standing intervals with the resistance back to easy. Only do this if its pain free in the knee joint.
Stage 4
Progression to an actual bike. The next step was to put my bike on the indoor trainer.

I have one that looks a bit like this. It lifts the back wheel: the bike is held in a frame and the back wheel is on a roller on mine. So I pedal as normal, my speedo works as normal, but its in effect turned into a stationary bike.
- Back to the same as stage 1: pedal until it stops hurting, bike on the easiest gear possible / zero resistance. From there, then add a bit of speed in the legs as intervals.
- Once you can pedal without it hurting at the start, practice getting on and off while the bike is attached to the trainer.
- start gradually adding a little bit of resistance, but it should all still be relatively pain free.
Stage 5: the open road
At this point, I started by having my husband on stand by on the drive and I made sure I could pedal forwards and stop safely. Once I was sure I could do that, I started with my mountain bike and just trainers on my feet and did very short loops of the block. It was flat, back roads and all left turns. I was able to free wheel when my leg got tired (which was very frequently!)
Have fun, be patient and most importantly stay safe!
